I had an idea today to make some Waypoint Terrain. At Lowe's I found a package of "Painter's Pyramids" in the Paint section of the store. These are perfect to make a latex mold of, and cast a few to be used in mini-wargaming. First thing I did was to file off the letters of the Painter's Pyramid so that they would not show up on the mold. I also used some sand paper to mar up the surface of the pyramid in a horizontal fashion. It just adds to the texture of the mold.
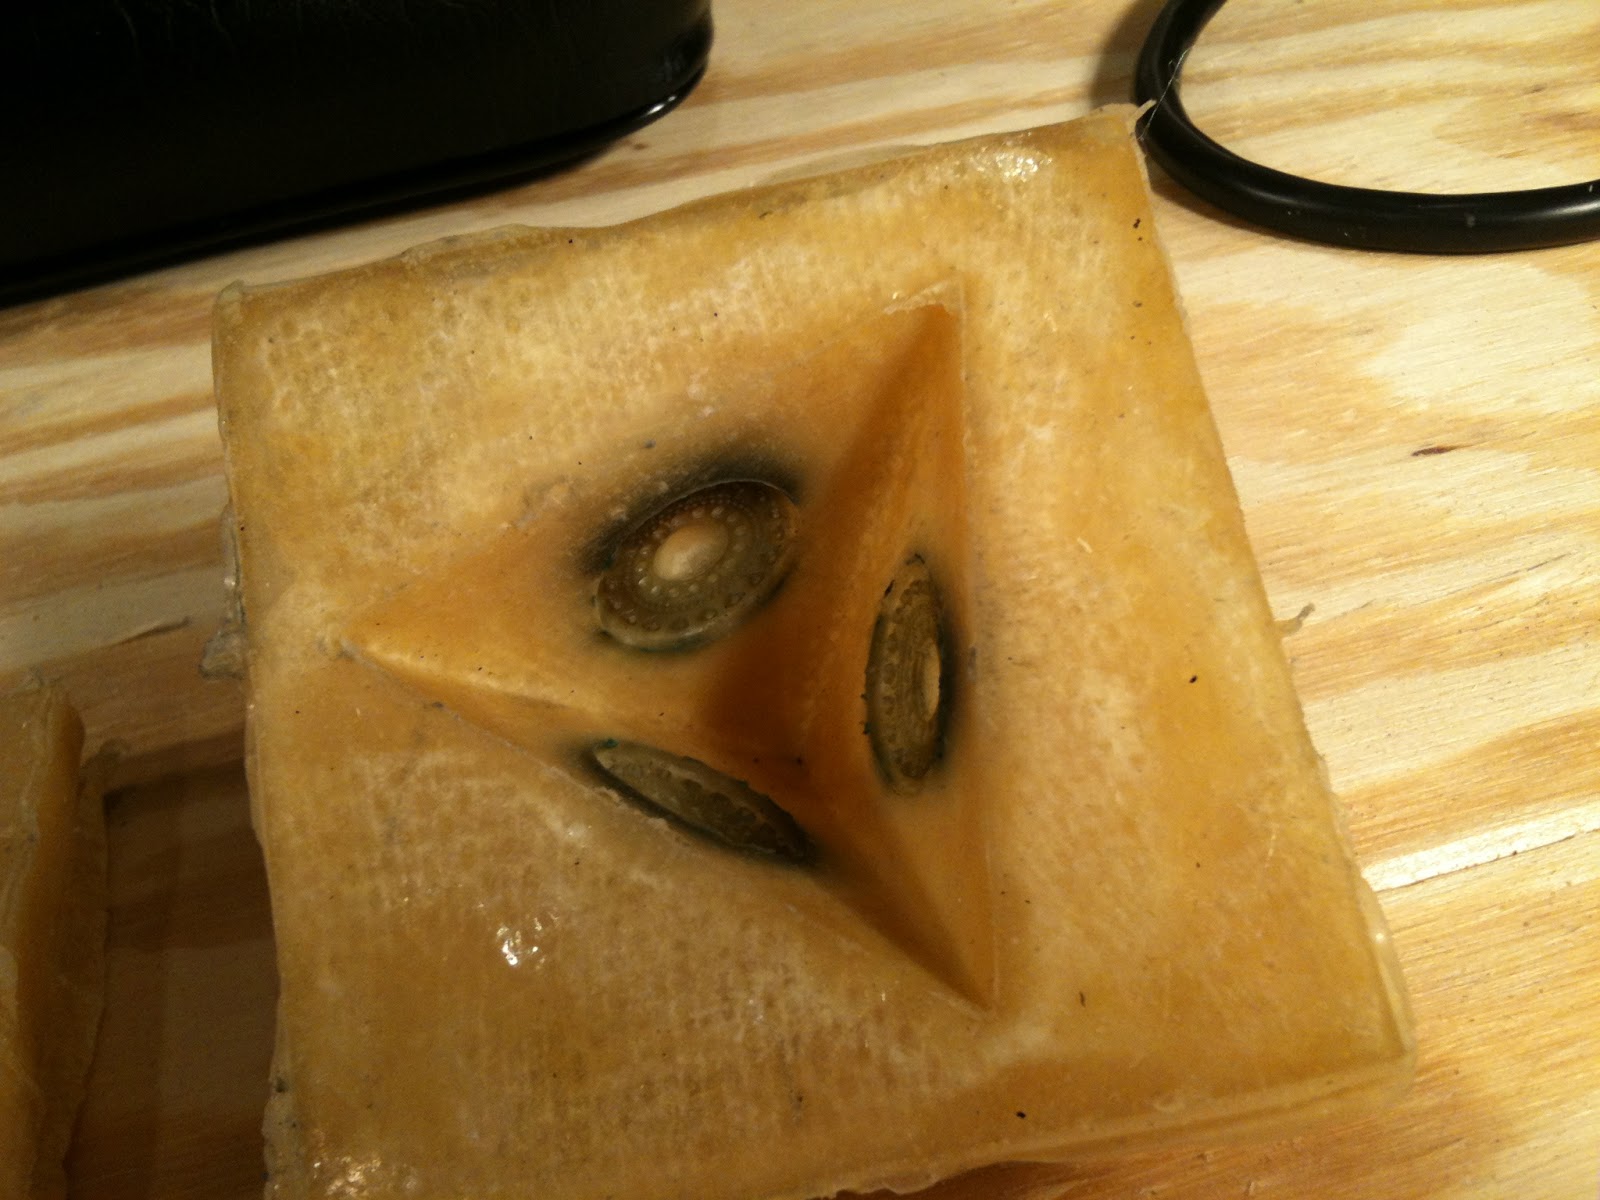
I also found some round jewel beaded metal pieces at Michael's Art & Craft Store. These are for making necklace charms and the only thing I had to do to make them fit inside the pyramid holes was to file off the loop where the necklace string goes.
I hot glued the round charms from the inside of the pyramid. After they are cooled off enough, I proceeded to paint the pyramids some thin layers with liquid latex. It took awhile to dry between layers, but it's well worth the wait. On the third or fourth layer I took some pieces of gauze to strengthen the mold itself, and ran some of the gauze on the outside of the mold and painted them in place with more layers of liquid latex.
To cast the molds, I had to make a vibrating table out of a variable speed massager and a thin piece of plywood. A vibrating table you say, but why. Well when you pour molds with the thick plaster, a ton of air bubbles form inside the plaster and the vibrating table helps get rid of those air bubbles while you are pouring the plaster.
The "Jeanie Rub" massager comes with a bracket that was perfect for mounting it too a piece of thin plywood. I just scrounged up some bolts, washers and nuts for the mounting. Beacause the massager is so powerful, I used the lowest setting and even had to mount the plywood to the table with two screws so that it wouldn't jump off the table.
Here are the finished models after the plaster dried. Make sure you wash out the molds with some warm soap & water after each cast. with a little sanding to take out the rough edges, I then airbrushed with primer and then painted them solid black, and dry brushed them with some light grey paint.
This is the end result after several days of working the mold process. I think the next one will look like it's crumbling by taking some piers to the cast and breaking off a couple corners so that they look ancient.

I tried another mold project, just playing around with different items and mounted them to four miniature figure bases, have fun with it!